How I add a “support” widget to my site using Beaver Builder and free plugins.
We’ve all gotten pretty used to the little help widgets that float along as we browse most websites.
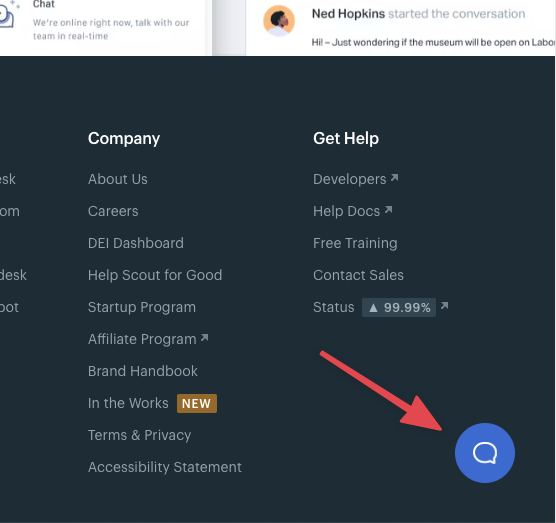
Made popular by Helscout and other support tools, it’s a great way to capture questions or concerns immediately from users.
But for those of us who don’t want or need a full-blown support app, or are content with just receiving an email, here’s how I add a widget to my site.
The contact form
First, you need a contact form. I use Beaver Builder that includes a simple contact form module.
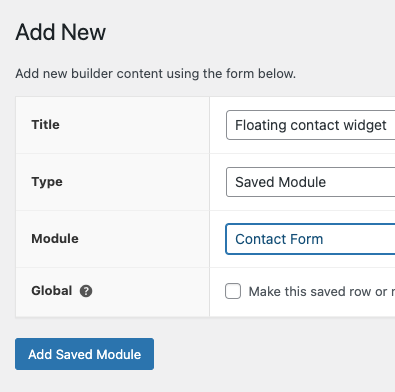
So I create a saved module that’s an instance of the contact form module:
I configure it as I like, but keep it pretty minimal:
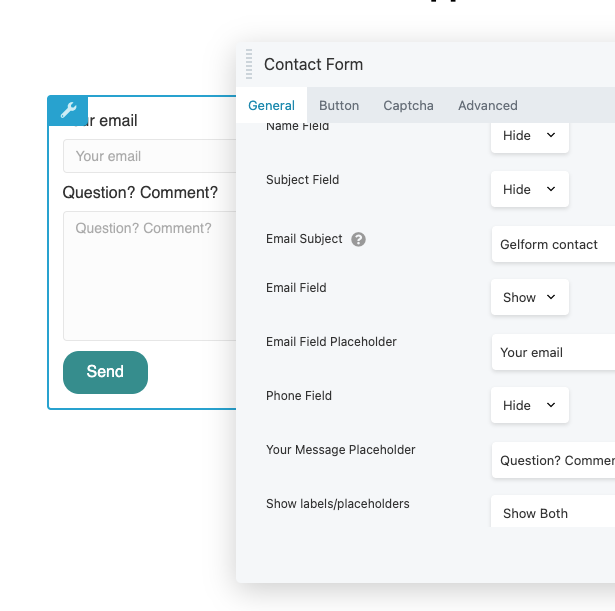
Obviously, this will be different for you if you use Elementor, for example, but the idea is the same. Create a saved contact form.
Now copy the shortcode for your saved module:

The popup
Next, I add the Popup Maker plugin from the WordPress repo: https://wordpress.org/plugins/popup-maker/
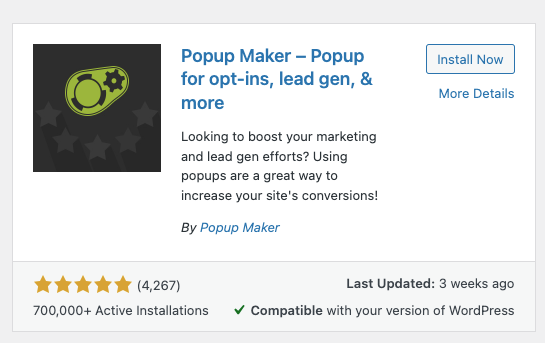
The free version works great.
I create a new popup and insert my shortcode in the body:
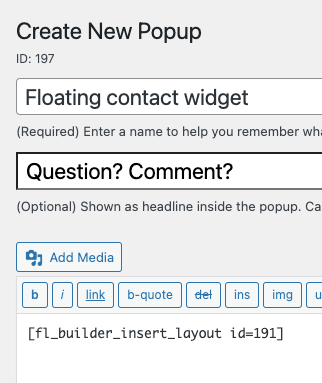
Leave the “Triggers” as “Triggers cause a popup to open.“. This means we’ll add our own button to open the popup.
The only other setting you need to change is the display to make the popup slide in from the bottom right:
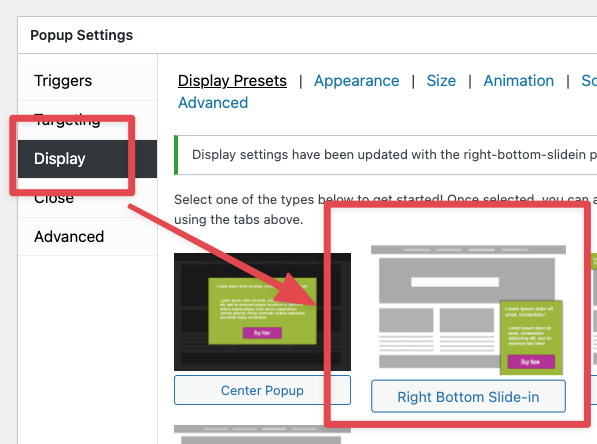
Change the appearance you want, but I find the defaults work fine.
Save your popup and head back to the “all popups” menu. You should see the popup we just created.
Copy the CSS class.

The widget
The final piece of the puzzle is the widget.
Since we want our little chat icon to appear on every page, I usually put this in a Beaver Builder footer theme layout. but you can just as easily add it to the footer.php file in your theme.
Add a Button module to your page:
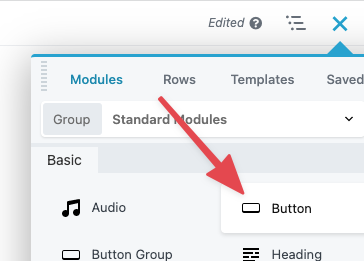
It doesn’t really matter where, as long as it will appear on every page (assuming that’s what you want 🙂 ).
Make the button look how you like. Give it the text “contact us” or leave the text blank and add a chat icon:
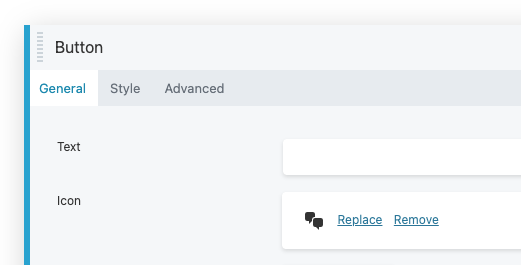
Now here’s the magic.
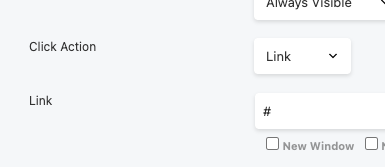
Make the button action a link and enter # in the link field:
The on the “advanced” tab, add the popup CSS class we copied to the “Class” field:
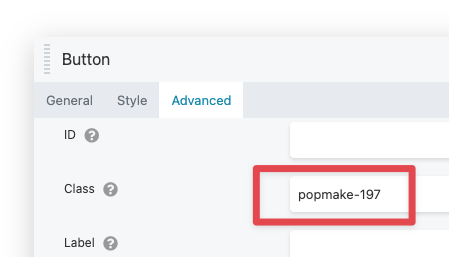
This is what will make our button open the contact form popup we created earlier.
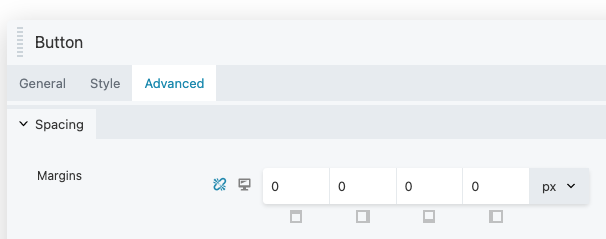
I also remove all margins from the module while I’m here, but it’s not strictly necessary:
The positioning
One last step and we’re done!
We want the button to stick to the bottom corner of our pages, so let’s add some styling.
Open “Layout CSS & javascript” from the Beaver Builder menu:
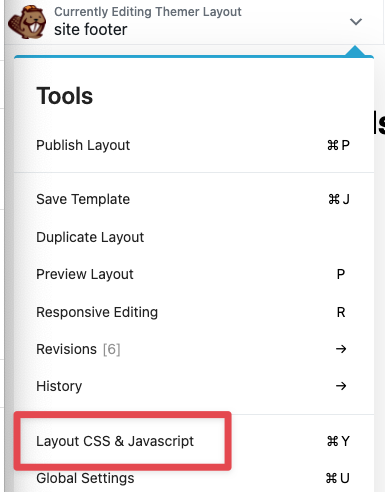
In the CSS text box, add the following styles, but be sure to insert your popup CSS name!
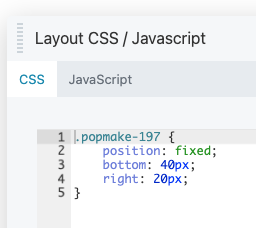
Here it is so you can copy it:
.popmake-197 {
    position: fixed;
    bottom: 40px;
    right: 20px;
}
This is what makes your button stick to the bottom corner of your pages, no matter where your visitor scrolls!
Save your updates and refresh.
The results
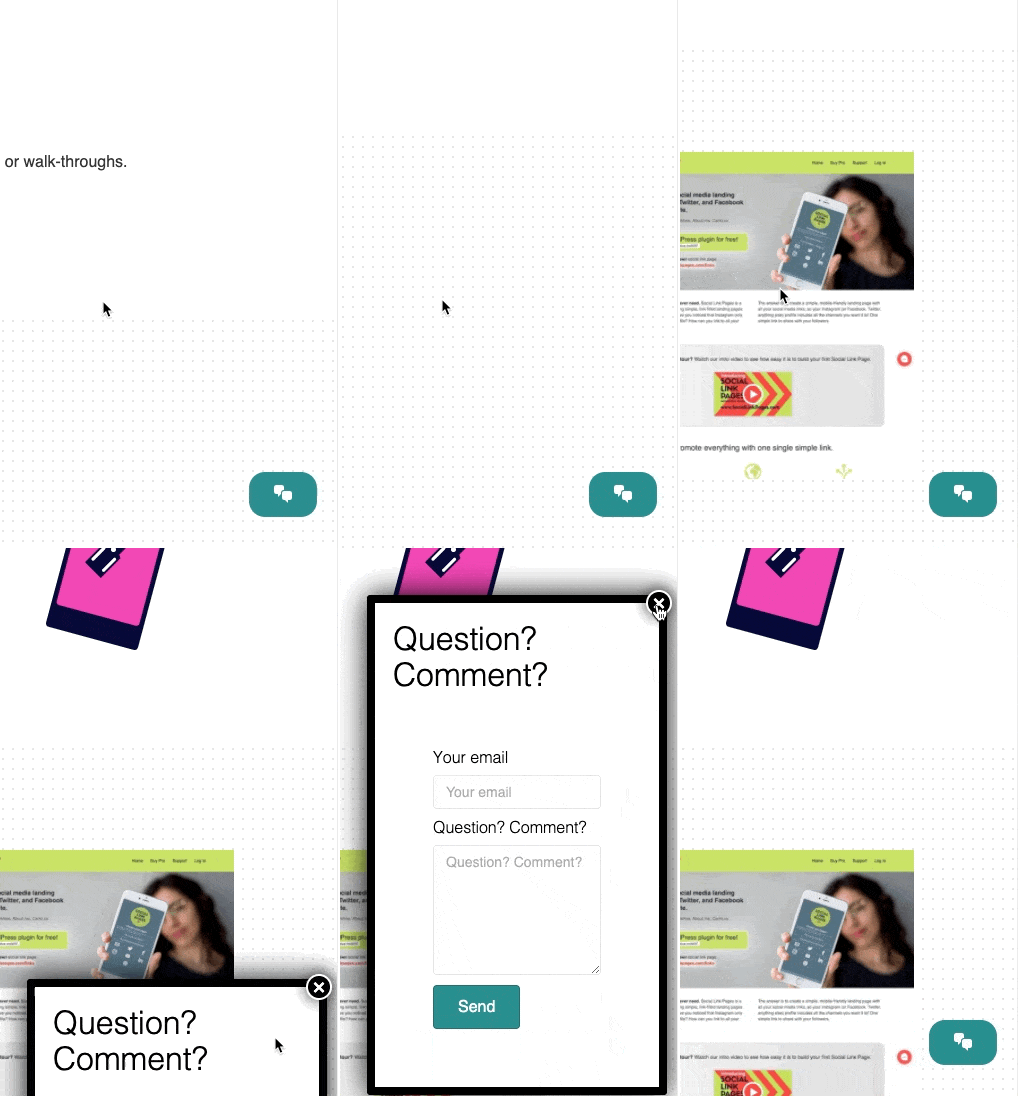
Now when anyone clicks on the button, the popup should slide up from the bottom right corner of your screen and show your contact form.
I hope that helps you get more leads!